introduction
Weekend impulse project time. 😎
I had originally planned to incorporate a service bell into another small project, but decided I’d split it up into a few modules so I can link the bell to other projects in the future. So this project is essentially ESPHome-ifying a service bell, one like you could find at a reception counter, to use with HomeAssistant. I just grabbed it from a stationary store.
design
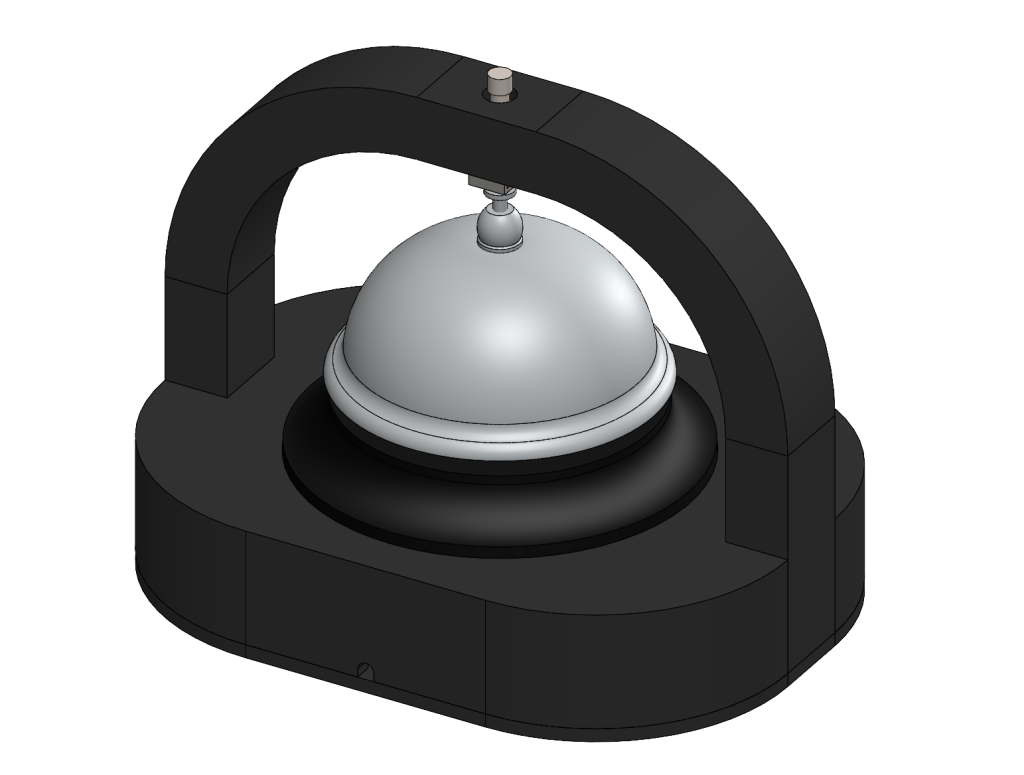
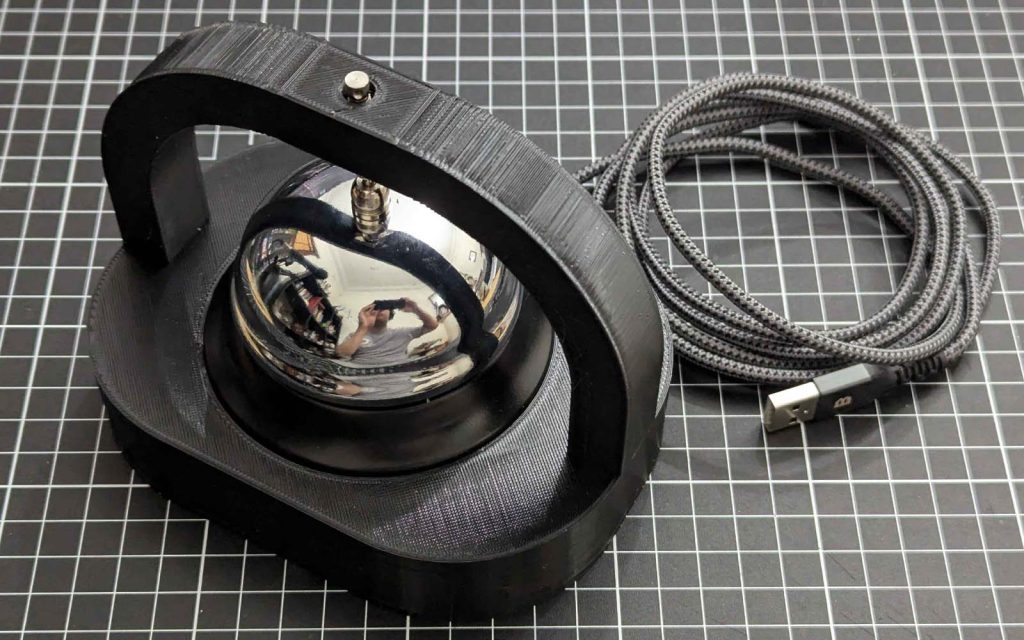
The plan is to use a small solenoid actuator to push down on the bell, emulating a finger. I had tried to strike the bell with the actuator itself, but the sound is much better using the arm inside the bell. If you cast your eyes to Fig. 1, you will see the unnecessarily complicated design to mount the solenoid above the bell. The wires for the solenoid run through one of the arms, into the base, which houses the ESP8266 board and supporting electronics.
The circuit isn’t anything special, just a MOSFET, flyback diode and a decoupling capacitor, as shown in Fig. 2. I’m using a IRLB3034, which is overkill, but I had it in my parts bin and it has a low turn-on voltage so in it goes.

Figure 3. shows the components crammed onto a D1 mini breakout board. It’s not pretty but it works.
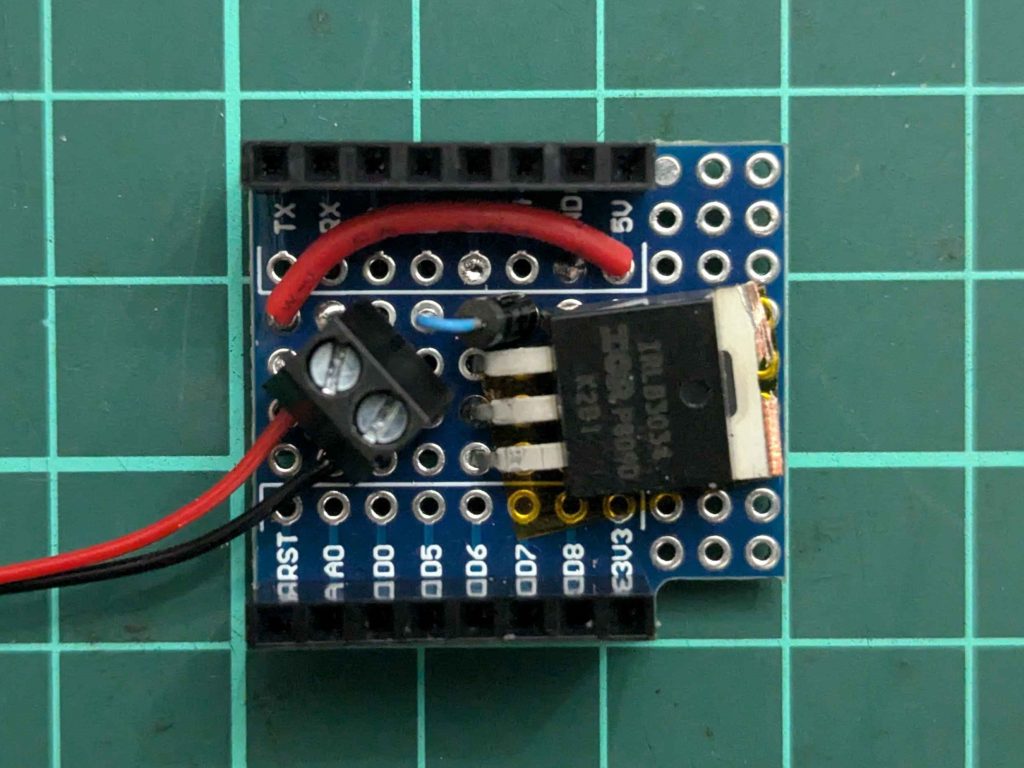
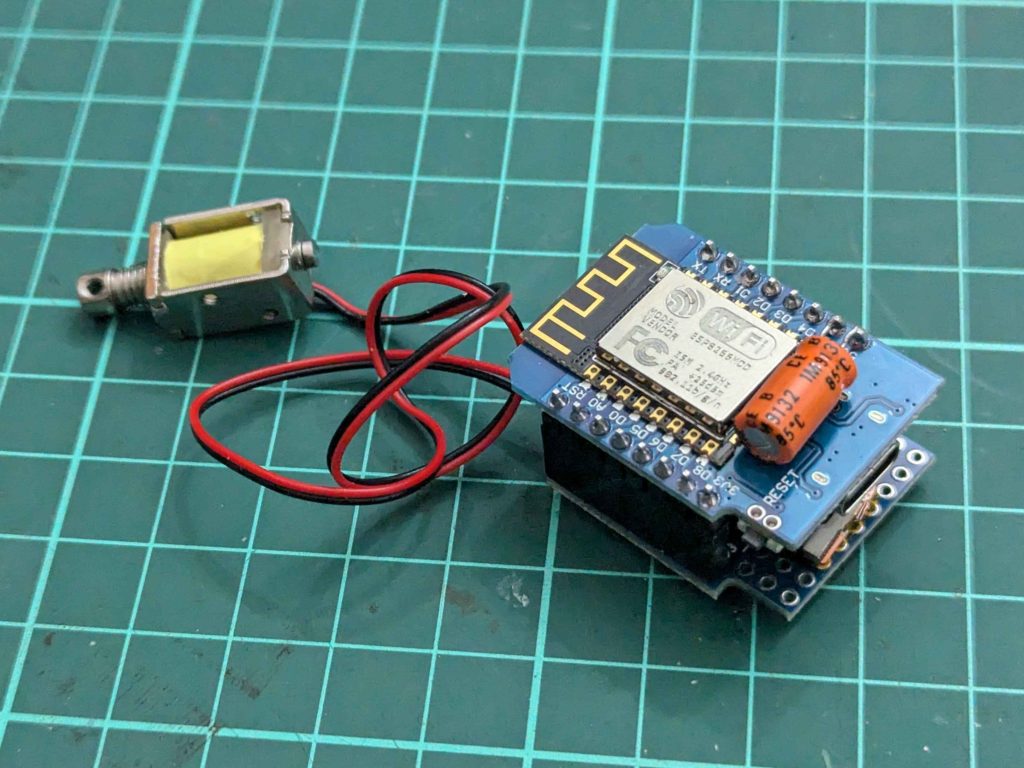
Figure. 4 shows all the electronics put together.
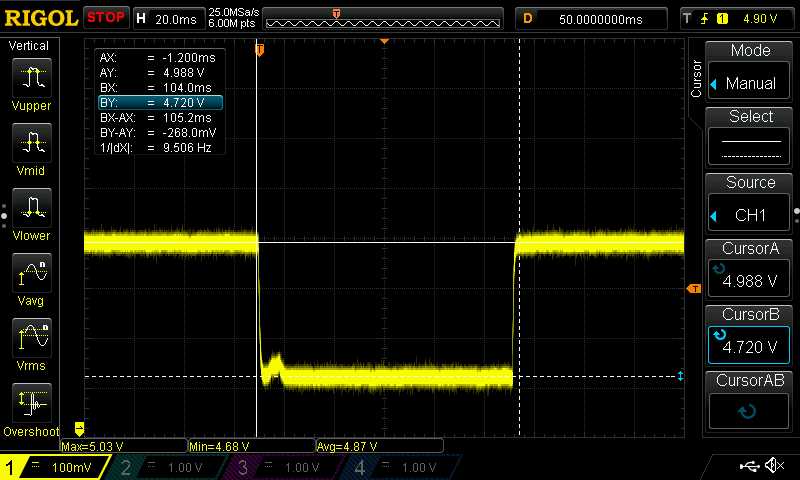
Using a low voltage solenoid probably isn’t the best idea, as seen in Fig. 5, the 5 V rail drops to around 4.7 V when switching. It doesn’t seem to cause any issues (yet) so it’s fiiine.
finished product
The body is 3D-printed out of PLA, with some supports necessary for the middle of the archway and underneath the platform. The base is hollow, with space for the ESP8266. A bottom plate is secured onto the body to enclose the wiring and clamp the USB cable for strain relief.
I flashed the ESPHome config below and the button shows up in HomeAssistant. Ez pz.
ESPHome config
output:
  - platform: gpio
    id: solenoid_pwr
    pin:
      number: GPIO0

button:
  - platform: template
    name: "Bell"
    on_press:
    - output.turn_on: solenoid_pwr
    - delay: 100 ms
    - output.turn_off: solenoid_pwr
    - delay: 100 ms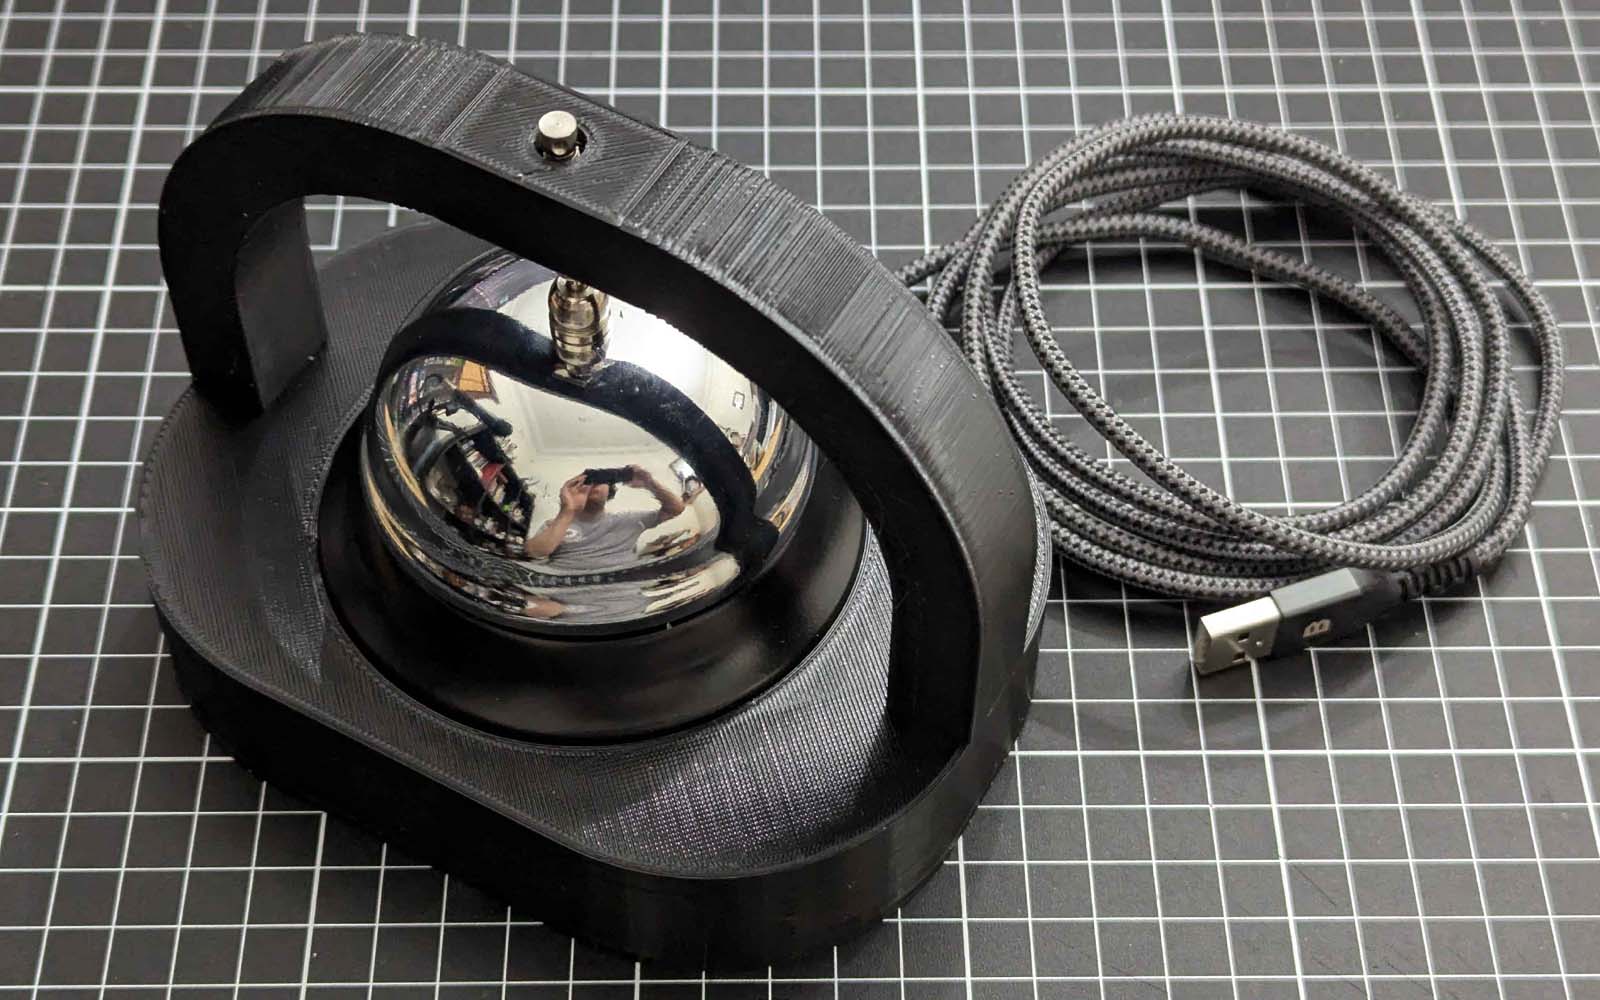
Leave a Reply